Carbon fiber parts can look smooth and solid, yet a reliable bond depends on details hidden beneath the surface. The weave may be covered by epoxy, paint, or a release-agent residue, and each surface can respond differently to an adhesive. Small details matter. Poor preparation can leave a joint that looks neat but fails under vibration, moisture, or repeated loading.
This guide explores how to bond carbon fiber materials together with seven practical tips, from choosing a compatible adhesive to preparing surfaces and allowing a full cure. It also explains why gentle abrasion may help some joints, while aggressive sanding can damage fibers or expose reinforcement. Cleanliness, fit, temperature, and manufacturer instructions all deserve attention. There is no single adhesive or preparation method that suits every carbon fiber part. That can be frustrating. Check the composite and adhesive product guidance before starting, and test the process on a sample when possible. For a safety-critical component, consult a qualified composites professional rather than relying on a general-purpose repair. A careful bond is built before the adhesive is applied—and sometimes the best decision is to pause and verify the materials first.
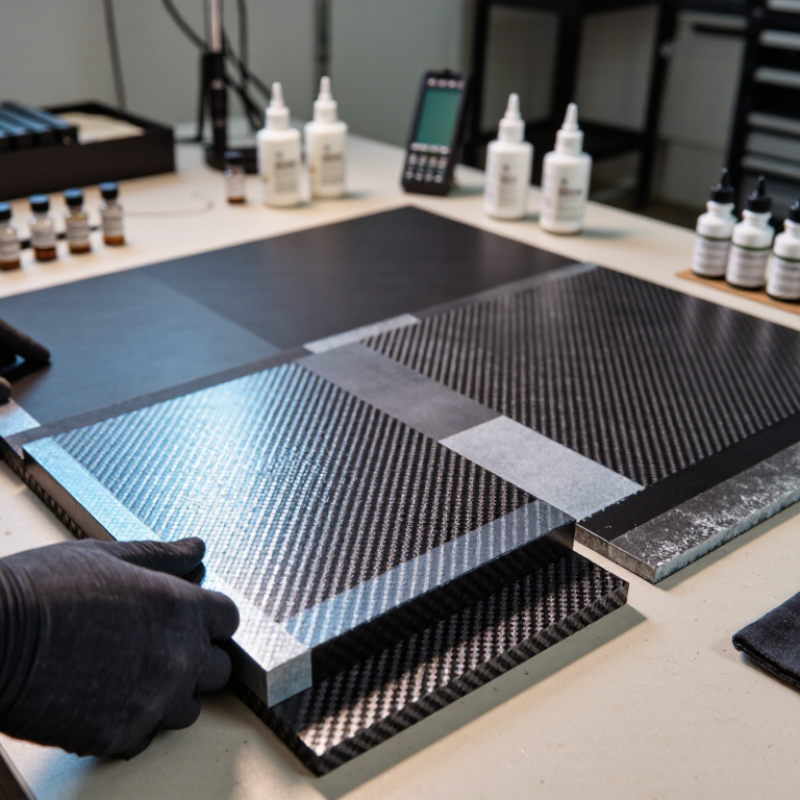
Carbon fiber can look ready for bonding while its surface still resists a dependable joint. The fibers themselves are strong, but the outer layer may contain cured resin, release agent, dust, or handling oils. Even a fingerprint matters. These contaminants can prevent adhesive from wetting the surface evenly. Composite panels also vary in resin content, weave, and finish, so two pieces that appear identical may bond differently. That variability is easy to miss. A useful reminder: clean-looking is not the same as bond-ready.
Bond strength depends on preparation as much as adhesive selection. Controlled abrasion can create a consistent surface, but aggressive sanding may cut load-bearing fibers and weaken the laminate. Remove dust and oils with a compatible cleaning method, then allow the surface to dry fully. Follow the adhesive’s preparation limits and confirm compatibility on a small sample. In service, heat and moisture can affect the interface, while mismatched stiffness may concentrate stress at an edge. Peel forces are especially troublesome; a joint loaded in shear is often easier to manage. Still, real parts rarely load in one direction. That detail deserves a closer look.
| Tip | Bonding challenge | Recommended practice | Why it matters |
|---|---|---|---|
| 1 | Surface contamination | Remove dust, oil, release-agent residue, and other contaminants using a cleaning method compatible with the laminate and adhesive. Let the surface dry fully, and avoid touching the prepared area. | Contaminants can weaken adhesion at the surface even when the adhesive itself is suitable. |
| 2 | Damaging the laminate during preparation | If abrasion is specified, abrade the cured resin surface lightly and evenly. Avoid cutting, fraying, or exposing carbon fibers, then remove all sanding debris. | Exposed or damaged fibers can reduce laminate strength and create an inconsistent bonding surface. |
| 3 | Choosing an unsuitable adhesive | Select an adhesive intended for the service loads, temperature range, moisture exposure, and specific adherends. Structural epoxies are commonly used, but confirm suitability for the laminate resin and application. | Adhesive performance depends on the complete application, not just the carbon-fiber material. |
| 4 | Peel and stress concentrations | Design the joint to transfer load mainly in shear where practical. Use adequate overlap and avoid abrupt joint ends or geometry that pries the bonded surfaces apart. | Adhesive joints are generally more vulnerable to concentrated peel stresses than to well-distributed shear loading. |
| 5 | Uneven adhesive layer or poor fit | Ensure the parts fit as intended and maintain the adhesive bondline thickness specified for the chosen adhesive. Apply even pressure without squeezing out all the adhesive. | A controlled bondline helps avoid dry areas, excessive gaps, and uneven load transfer. |
| 6 | Incorrect mixing or curing | Follow the adhesive manufacturer’s mixing ratio, working-time limits, cure schedule, and temperature requirements. Keep the assembly supported and undisturbed during cure. | Incorrect proportions, temperature, or movement during cure can prevent the joint from developing its intended properties. |
| 7 | Hidden defects and galvanic corrosion in mixed-material joints | Inspect the joint for gaps, misalignment, and edge defects using an appropriate method. When carbon fiber is joined to a metal such as aluminum, assess electrical isolation and moisture exposure; use a suitable barrier or isolation design where required. | Carbon fibers conduct electricity, so contact with some metals in the presence of an electrolyte can promote galvanic corrosion. Visual inspection alone may not reveal every internal defect. |
Always validate surface preparation, adhesive selection, joint design, and cure conditions for the specific laminate and operating environment.
The surface may contain cured resin, release agent, dust, or handling oils. A fingerprint can interfere with even adhesive wetting.
Use a compatible cleaning method, then let the surface dry fully. Abrade only as directed; sanding too deeply can damage load-bearing fibers.
No. Resin content, weave, and finish can vary between panels. Similar-looking pieces may behave differently, which is easy to overlook.
Add reference marks outside the bond area and use a simple fixture. Bring parts together slowly, then recheck alignment before curing.
Aim for a continuous, even bondline. Do not press out nearly all the adhesive; dry spots and trapped air can create weak areas.
Follow the specified mix ratio, temperature, humidity, and working time. Record room and panel temperatures. A cold panel may slow curing.
No. Inspect for gaps, dry patches, and shifting, but a smooth edge cannot reveal every hidden defect. That limitation matters.
Compare samples made with the same materials, preparation, and cure process. For critical structures, use an appropriate inspection method or qualified technician. A light tap is only a rough check.
Bonding carbon fiber requires more care than joining ordinary materials because its smooth, resin-rich surface can make adhesion difficult, while excessive force or heat may damage the composite. To understand how to bond carbon fiber materials together, first consider the type of carbon fiber, the condition of each surface, and the demands the finished joint will face. Choose an adhesive that is compatible with both materials and suited to the expected loads and environment.
Prepare the surfaces by cleaning away dust, oil, and residue, then lightly abrade them if appropriate without cutting or weakening the fibers. Apply the adhesive evenly, bring the parts together with accurate alignment, and use gentle, consistent pressure to prevent gaps or excess squeeze-out. Allow the joint to cure for the recommended time and conditions, avoiding movement during curing. Once cured, inspect the bond for gaps, uneven coverage, or other visible defects before putting the assembly into service.

 RAXIS Fiber